Speakers are a personal thing. I grew up listening to my father’s hi-fi system, of which he was very proud. It consisted of a Sansui AU-5500 integrated amp driving a pair of Pioneer three-way speakers with 12″ woofers. It sounded great for vinyl playback and he even had twin cassette decks for A to B or B to A dubbing as well as taping from the radio or LPs. I made many a mix tape on that system. Although in a two bedroom house with six other siblings, I spent most of my time under headphones.
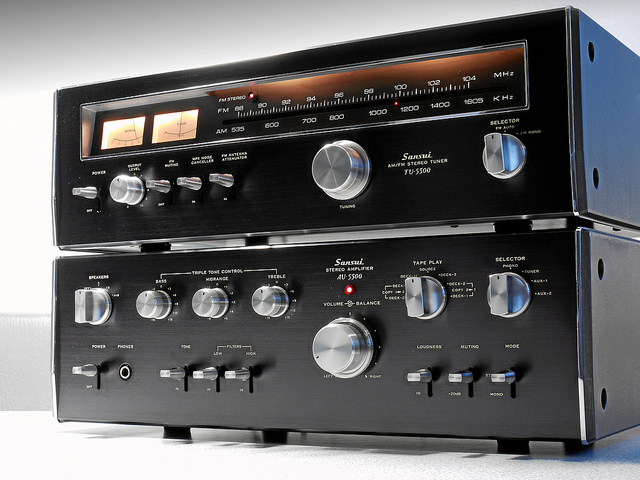
The Sansui AU-5500 with matching tuner. Vintage Japanese hi-fi is very cool. My brother is currently using the amp to power a pair of B&W 602 speakers with satisfying results.
I splurged during college and bought a pair of B&W CDM SE1 bookshelf speakers with matching subwoofer, powered by an Adcom preamplifier and amp. I also bought a nice VPI turntable, which is the only piece of that system I still own. Once my wife and I started our family, a dedicated listening room became a fantasy and a liability. And I needed the money for the little mouths!
I hung on to the B&W sub for awhile as well but eventually traded it for a pair of Mackie HR824 studio monitors in 2008 to replace some Alesis M1 active monitors that I never liked. To be honest, I’ve never cared for the Mackies either but I’ve learned their (many) weaknesses and can whip up a decent mix on them. Still it was a good trade; finally I had a decent monitoring solution for my burgeoning humble home studio setup.
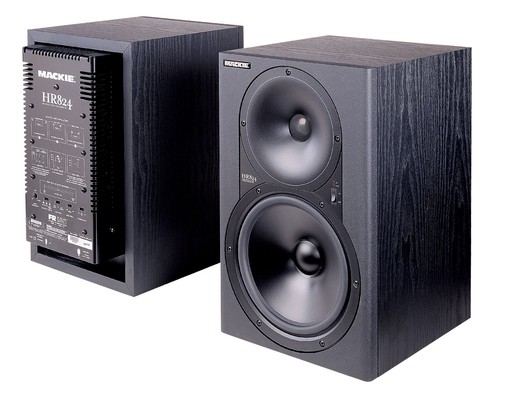
Mackie HR824. They’re not bad. They’re not very good either, but hey…
I’ve worked in many studios with a range of different monitors. I’ve used to work every day on a pair of Genelec 1031A monitors at Michigan State University. I have my opinions about a lot of different brands. But one brand I never paid much attention to is JBL, despite having nothing but respect for the company and its lineage.
I attended my first AES show in NYC in October 2013 with my good friend and studio owner / engineer / acoustician / musician Glenn Brown. While I was mainly enamored with the beautiful microphones, the tantalizing mic preamps, the retro tube outboard gear, and especially the Yamaha Nuage system (drool!), I did spend an afternoon listening to all the monitor speakers I could find on the floor. This included the new series from Neumann, the top of line ATC model, the new five-figure Genelecs, the Yamaha HS series, and a bunch I cannot even recall.
On a whim, Glenn and I stopped by the JBL display and they had their brand-new LSR 3-series hooked up. We listened for a bit and were both immediately impressed by the sound. Both the 305 and the larger 308 sounded really good, with a slight edge going to the 305 in terms of the tightness and definition of the mid-range. Even on the noisy AES floor, the speakers made a lasting impression.
I asked the JBL rep about the price of the 305 model and he said the MAP was $399. I said, “Oh, $399 each, that’s not bad at all.” He said, “No, $399 for the pair.” To say I was shocked is an understatement. I put them in the back of my mind for a potential future purchase.
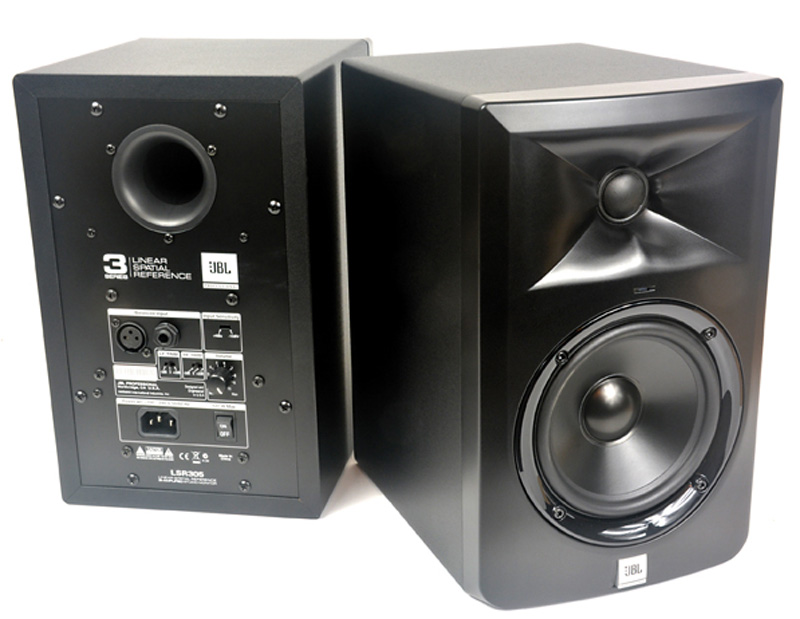
JBL LSR305 speakers
At the moment, I am in the middle of mixing three projects; Greg Nagy’s upcoming release (which I also engineered as well as wrote songs for and performed on), my own progressive rock project, and a cool little EP for a friend’s band featuring Farfisa accordion, drums, and guitar. I thought the time was perfect to revisit the JBL LSR305 monitors, especially since JBL lowered the price to $119 each*. I figured if I didn’t like them in the studio, what did I have to lose? At the very least I could use them on my workbench to play some tunes while I’m fixing pianos and such.
Now I’ve only had them for a few hours but difference between the Mackies and these little JBLs is, to use a common cliche, night and day. The JBLs are about half the size, but the sound they put out is incredibly enveloping, with pinpoint stereo imaging, a detailed mid-range, beautiful high-end, and a tight low-end that’s only limited by the size of the 5″ woofer. No you won’t be able to hear those low sub basses if you’re doing electronic music, but for almost everything else there’s plenty down there. And frequencies are balanced perfectly; the highs revealing and non-fatiguing, the mid-range focused and clear, and the low-end tight and defined. JBL does offer a companion subwoofer, the LSR310s, if your music needs it. That may very well be my next purchase.
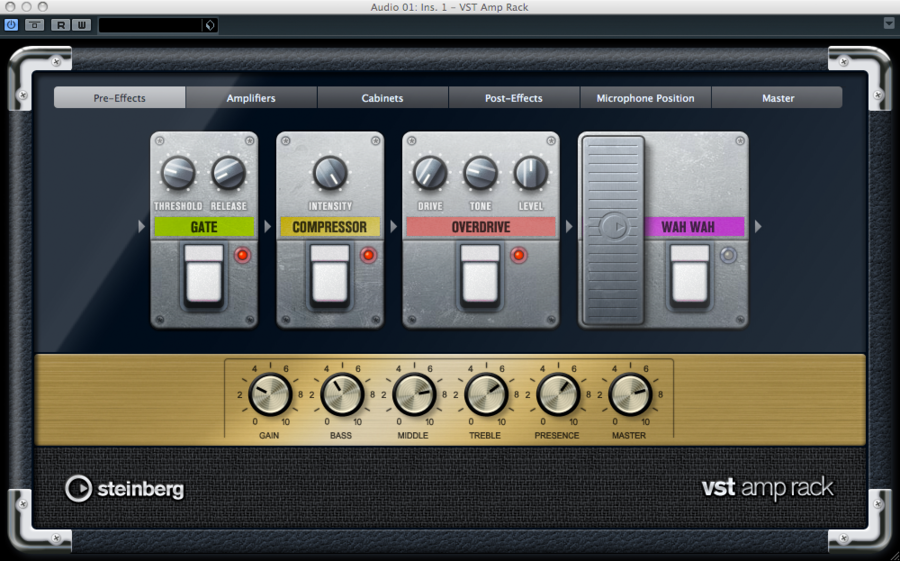
The biggest surprise is the stereo imaging. I can now hear (FINALLY!) in exquisite deatil when I move the panning control within Cubase even just 1 notch to the left or right. They also exhibit a sense of depth that makes you feel like you can reach right into the audio.
The feature set is pretty basic. The back has the IEC power connector (cord included), on/off switch, XLR and separate TRS 1/4″ inputs (no combo jacks, hooray!), an input sensitivity switch (-10dBv or +4dBu), master volume, and two contour switches that affect the highs and lows. A nice soft white LED on the front signifies power. That’s it. Right now I’m running mine completely flat (no EQ engaged) and the volume all the way up, controlling the levels from my Yamaha N12 mixer.
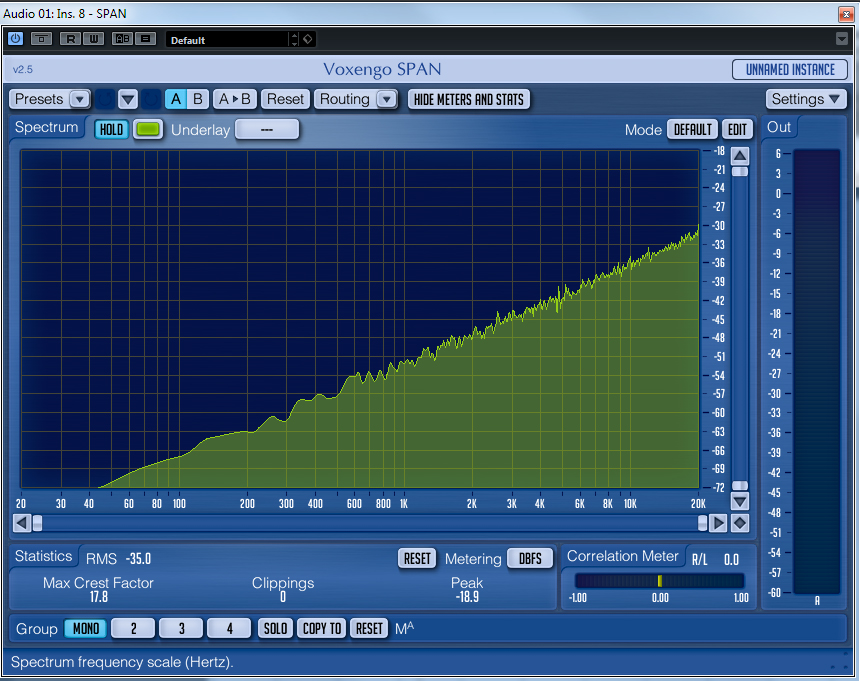
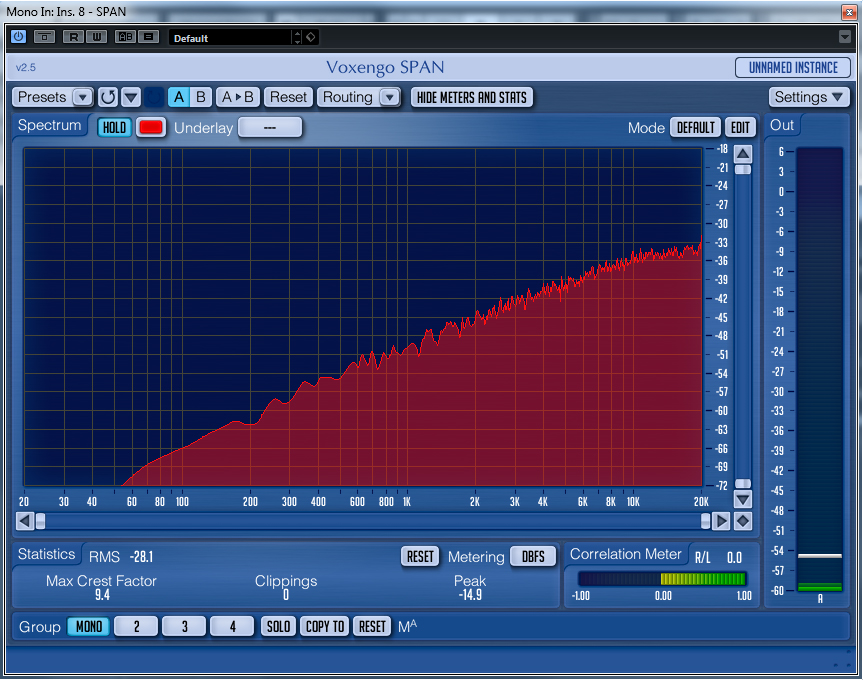
The frequency range is listed as 43 Hz to 24 kHz. A quick test with a sine wave generator in Cubase confirmed that they do indeed emit 43 Hz, albeit with a rather steep drop-off in volume.
So are there any negatives? Just one that I’ve noticed so far; they are a bit noisy. An audible low-level white noise hiss is present at all times and does not change regardless of the position of the master volume knobs. It isn’t terribly loud but it’s constant.
Other than that small issue, I love these speakers. I have no idea how JBL is able to make these at such an affordable price. They are easily worth three times the list. If you’re looking for a compact near-field monitor for your home studio, or a second pair of speakers for comparison, just buy them. You won’t be disappointed. Check out the cool speaker comparison widget over at Sonic Sense to hear how they stack up against the big dogs and then give my friends at Sweetwater a call to get a great deal.
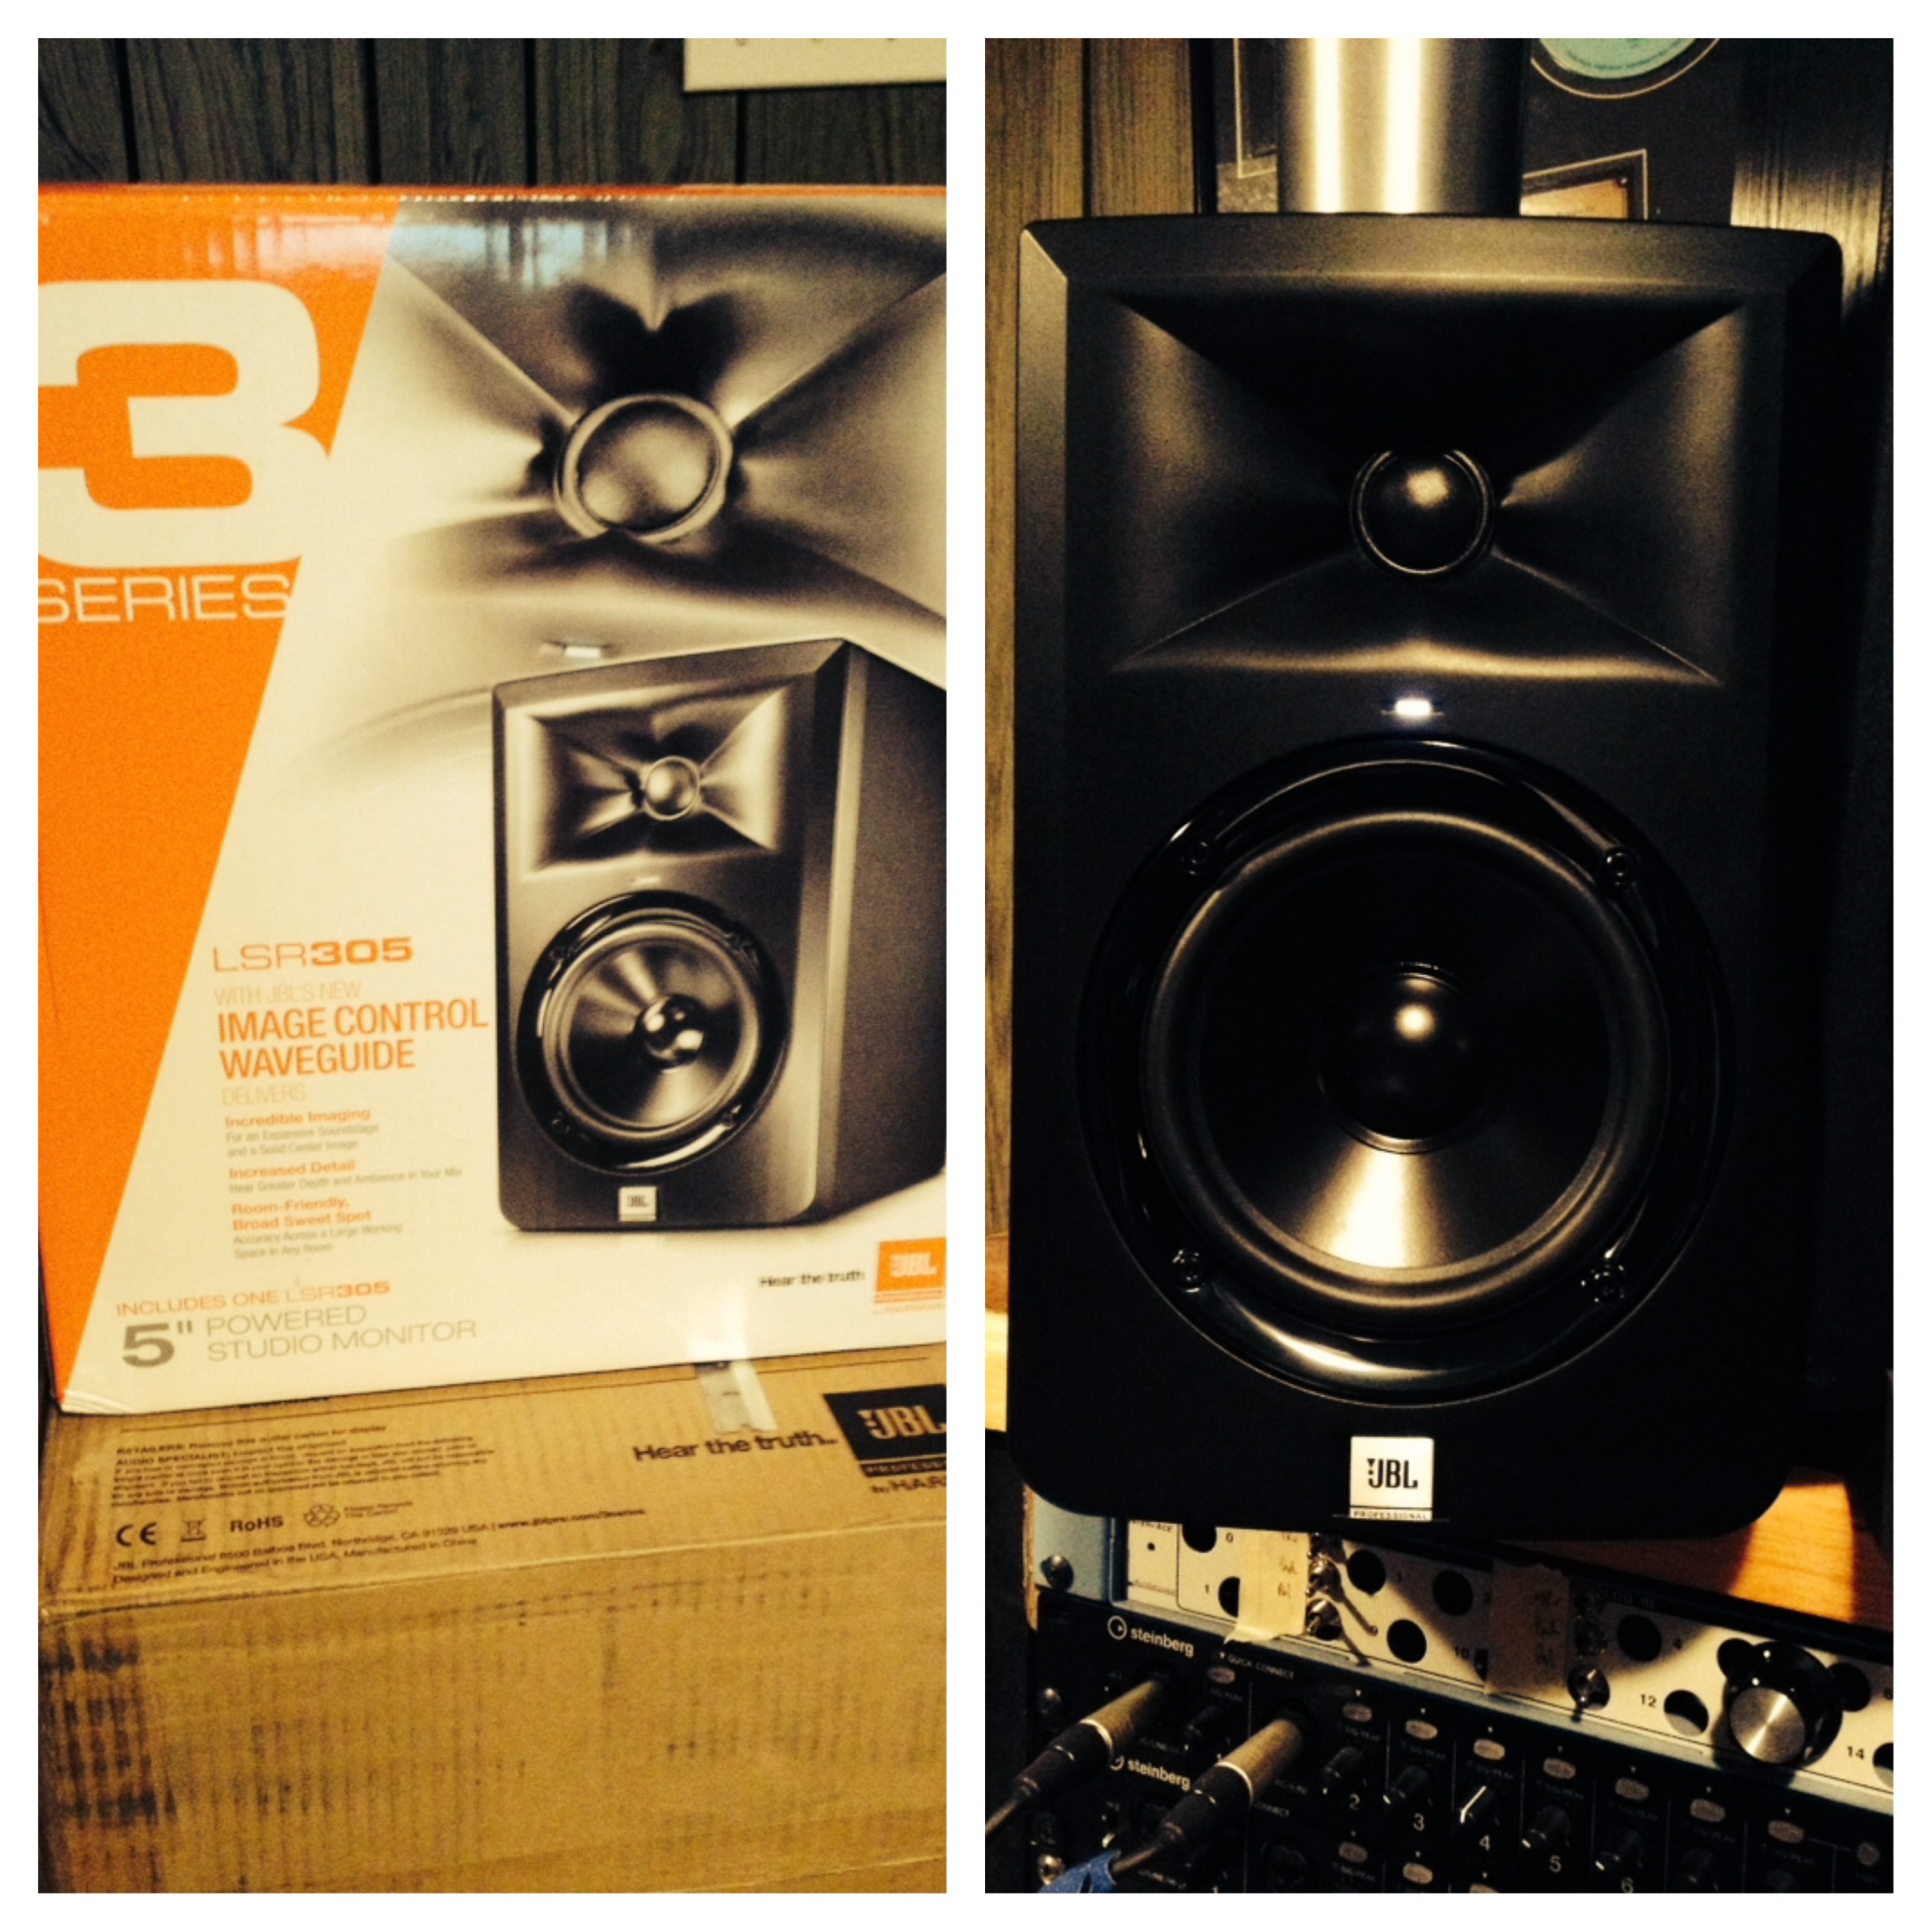
Boxed and sitting up on my desk. Good looking little guys, too!
UPDATE (Nov 3, 2014): I just bought three more LSR305 speakers in order to create a 5.1 mixing environment in my studio. I have removed the Mackies and I’m selling them. I also have the LSR310s subwoofer on order from Sweetwater. I am very happy with the LSR305 speakers. My mixes have improved immensely and I notice details I didn’t notice before. I can’t recommend these little speakers enough.
UPDATE (Dec 3, 2014): The LSR310s subwoofer is the perfect match for the speakers, as one would expect. I was using a friend’s KRK sub with my Mackies and the JBL is far tighter, more defined, and more balanced. I was able to do the first 5.1 mixing for my THEO project and I am thrilled with how they came out. The mixes translated extremely well in the professional mastering studio after mixing on the JBL 5.1 system.
* NOTE: The $119 each price quoted above was a special summer sale via Sweetwater. The normal price is $149 each, though deals can be had.